Last modified: 2023-02-17 @ d9665a8
Unboxing Moonlander
I recently bought a ZSA Moonlander, and it arrived today! Exactly two weeks after I ordered it, which is very speedily executed by ZSA. This post is essentially just a picture series of my unboxing of the keyboard. :)
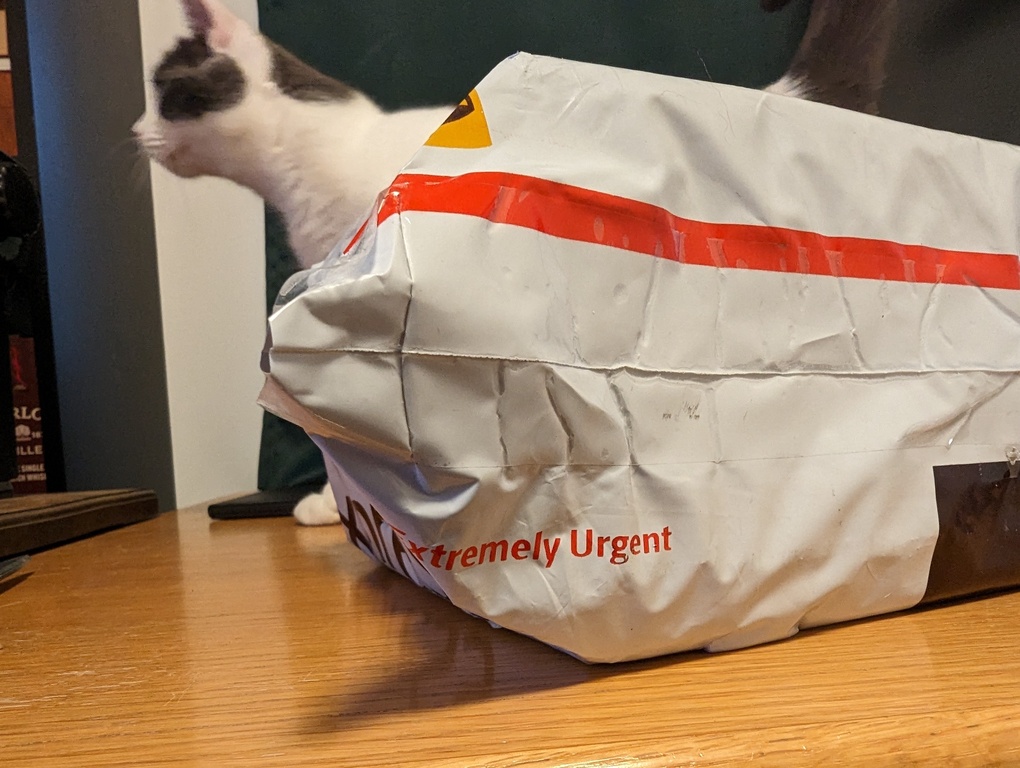
Very urgent package
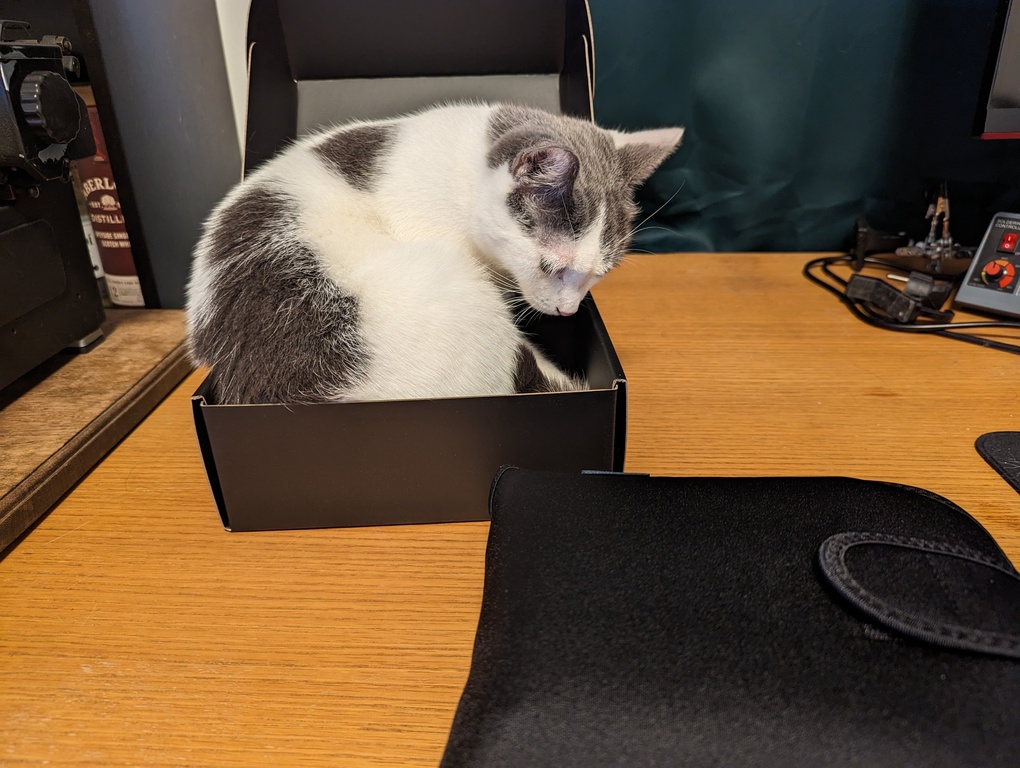
The package was labelled as “Extremely Urgent” on the outside. Given the 3-day shipping time from Taiwan to Sweden, it seems like this label actually did something. Also, since I brought a new thing into the house, the cat was naturally very curious.
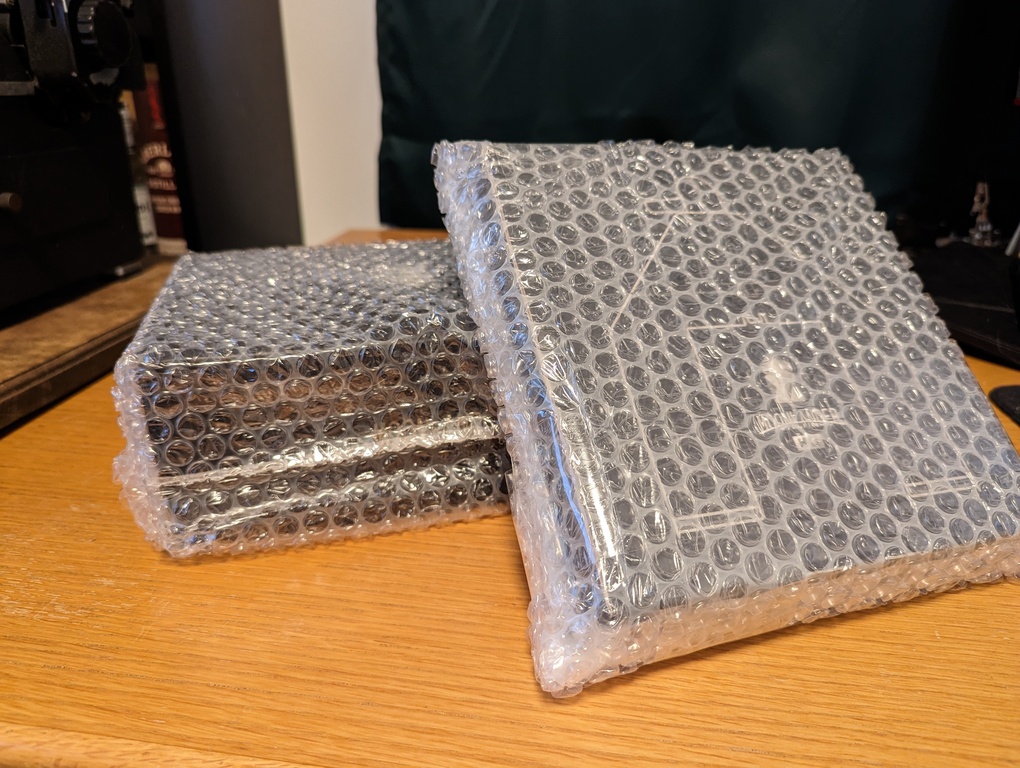
Bubbles!
Inside were two bubblewrapped boxes. One containing the keyboard, and the other containing the Platform accessory, which I’ll get to later.
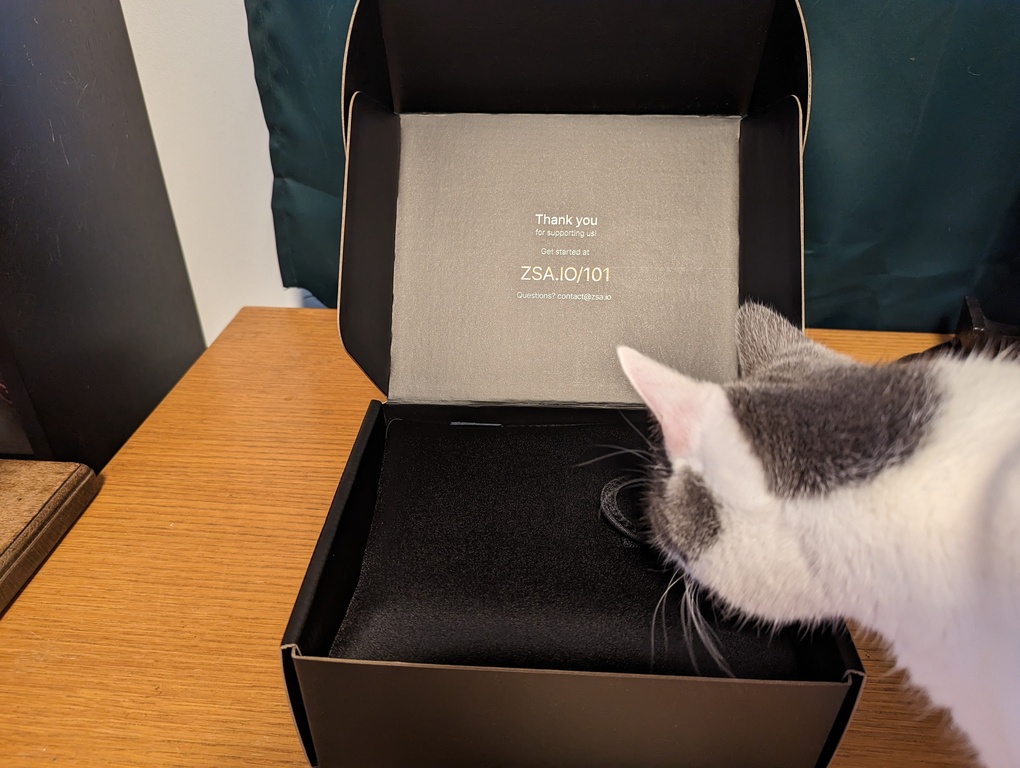
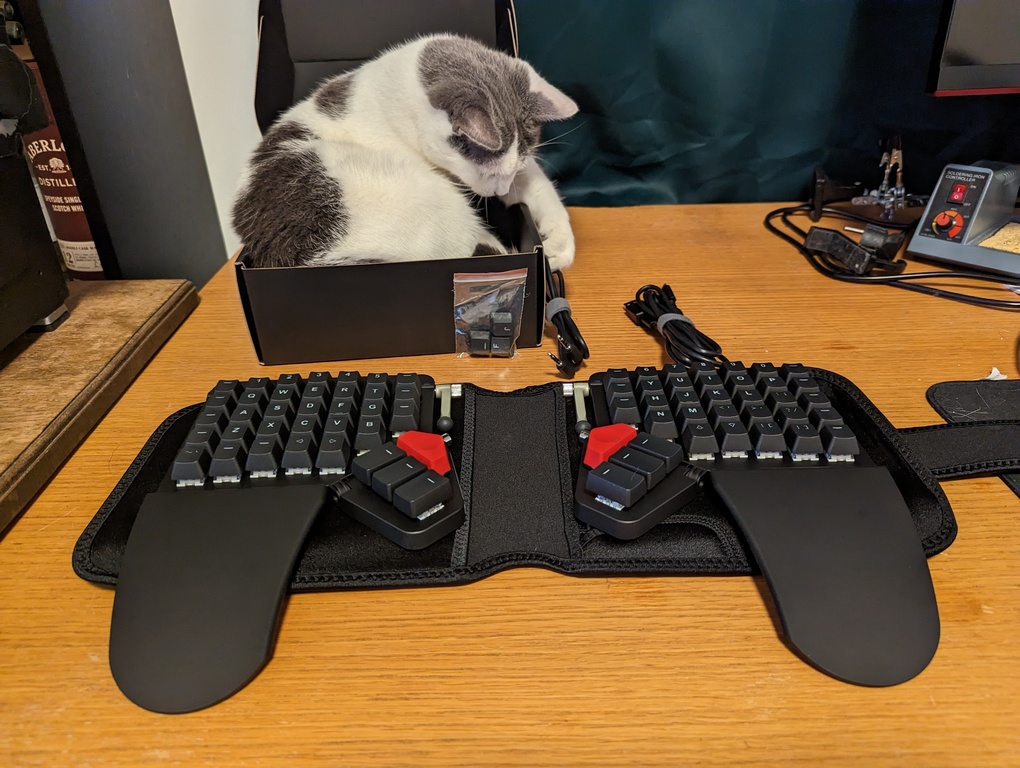
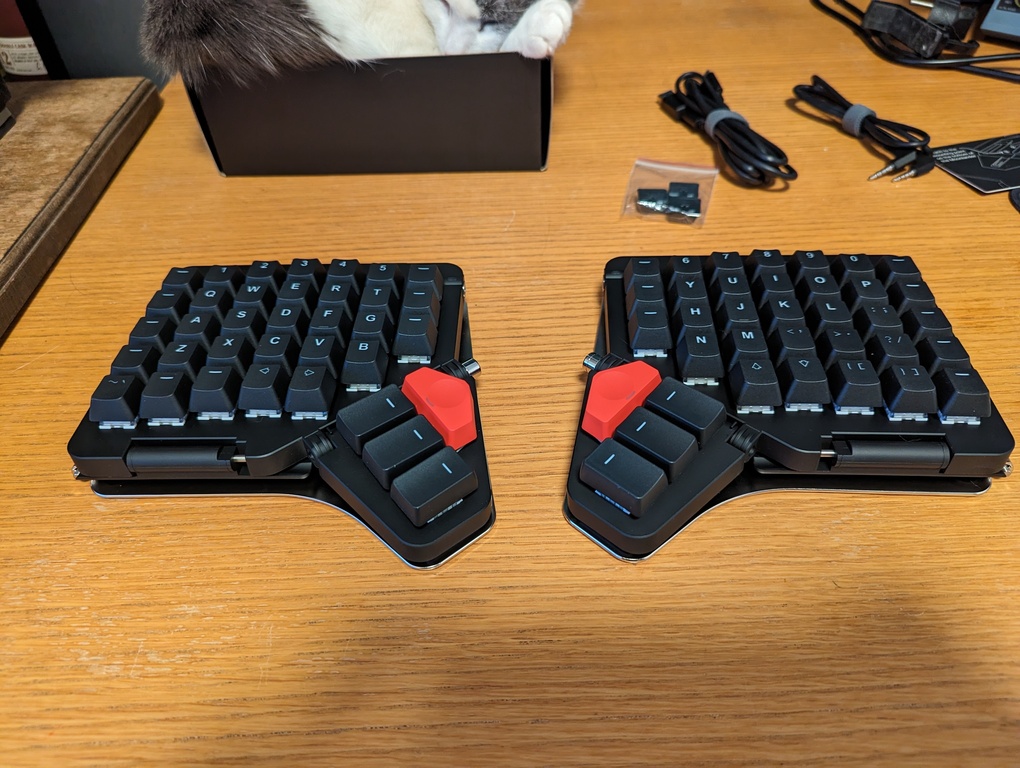
Boxes without bubblewrap Cat inspects contents of new box Cat immediately claims new box Wrist rests unfolded and taken out of the carrying case. Cat plays with cable and is quickly scolded. Tented keyboard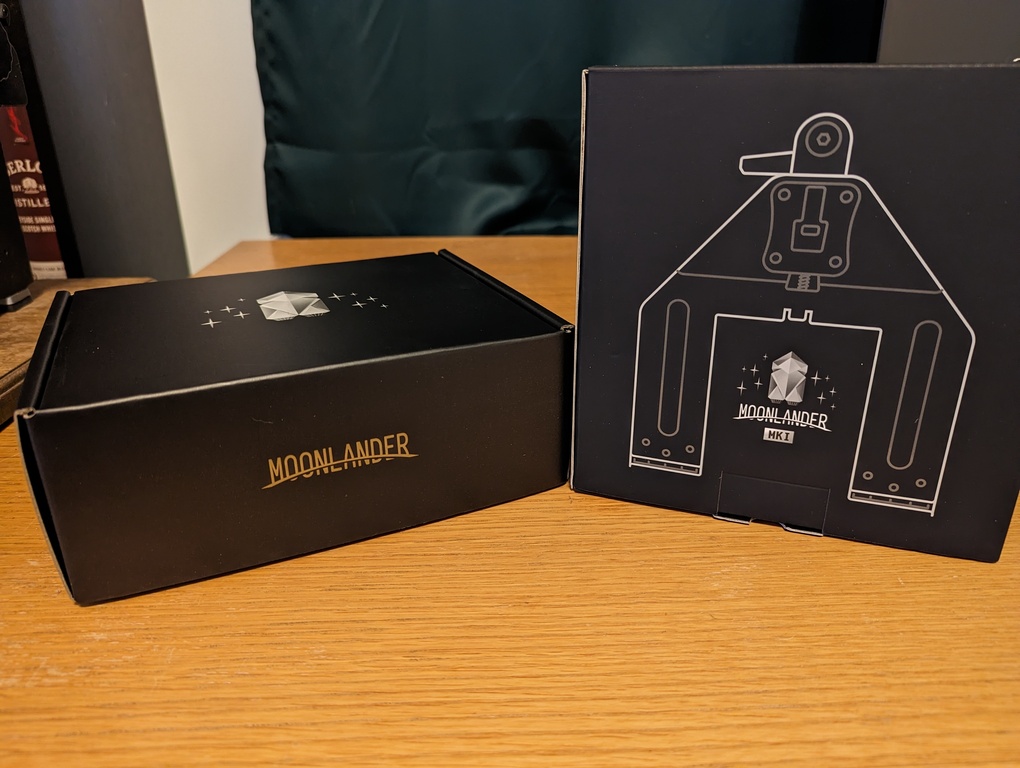
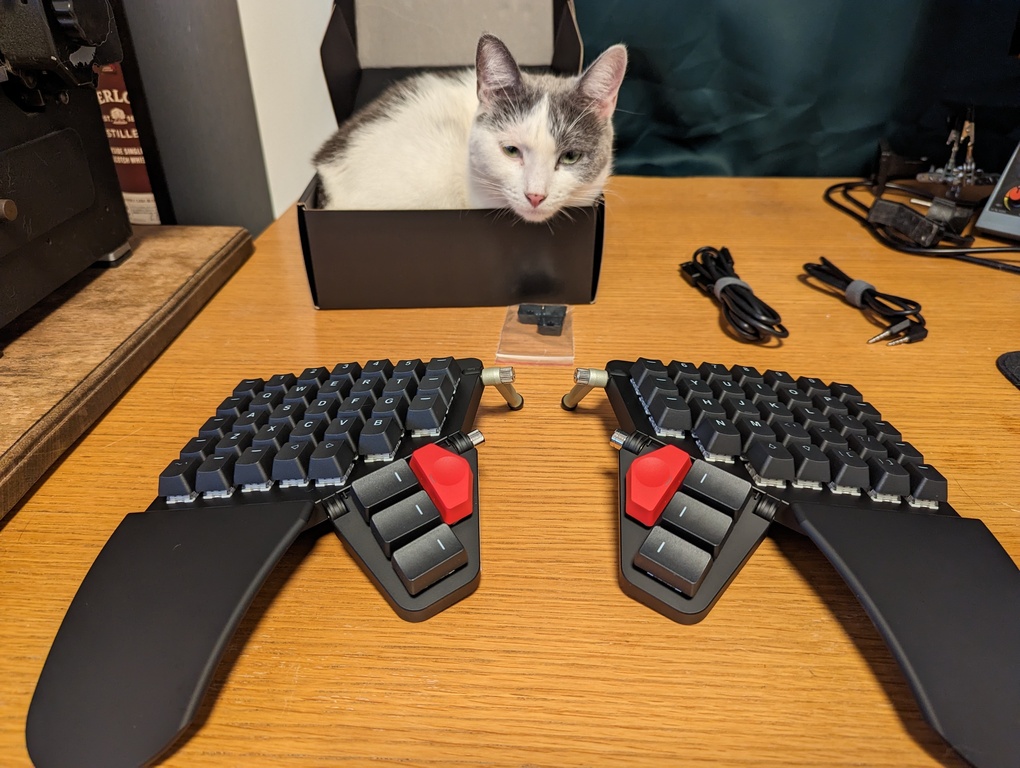
The tenting works by flipping the legs to the desired angle, securing them with the include hex key, and angling the thumb modules down to also act as legs. The thumb modules are also secured with a hex key, though the left one is threaded the “wrong” way, to prevent it from coming loose during use.
This works decently well, but from my experience trying out some of my friends' Moonlanders, there’s some risk of slippage. That’s why I ordered what’s in the second box; the Platform.
Platform box Heavy steel plates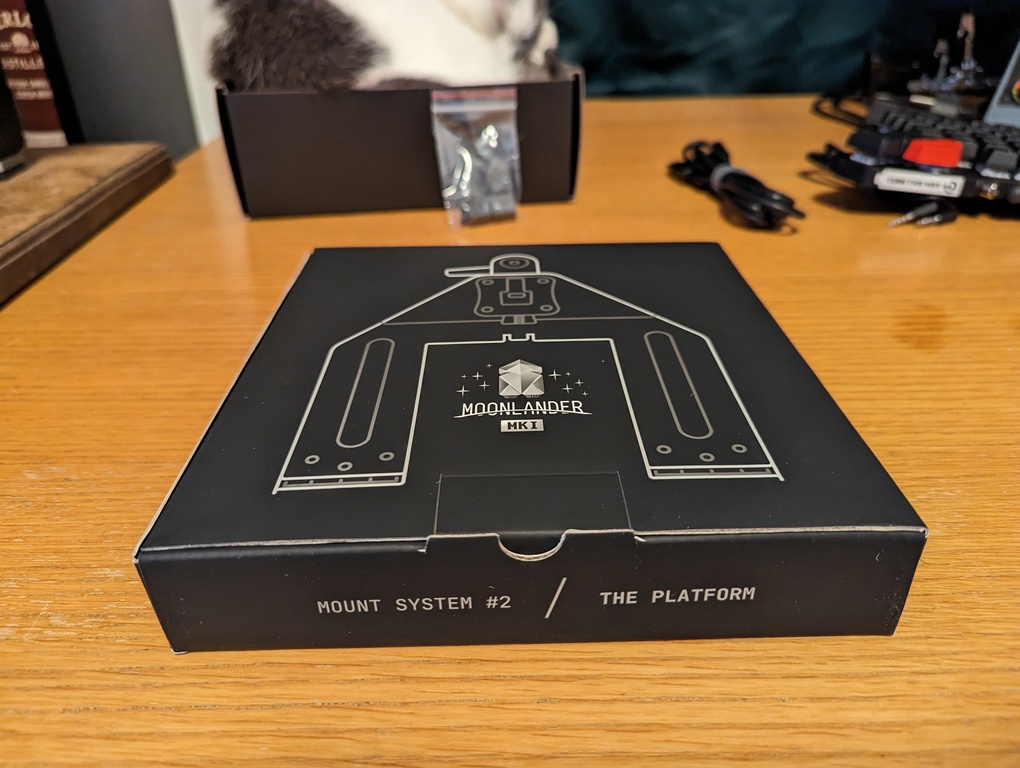
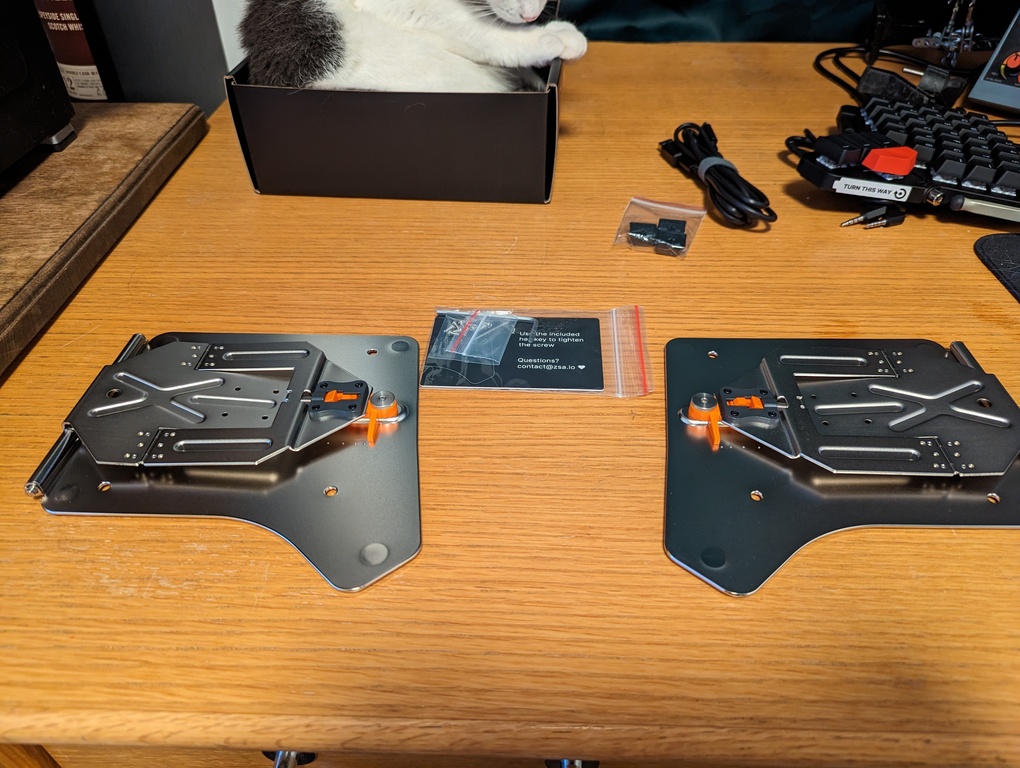
Inside the box was two pretty heavy steel plates. These are for mounting the Moonlander in a way that makes tenting sturdier and with more repeatable angles. This fixes the small slippage issue I had experienced on other Moonlanders.
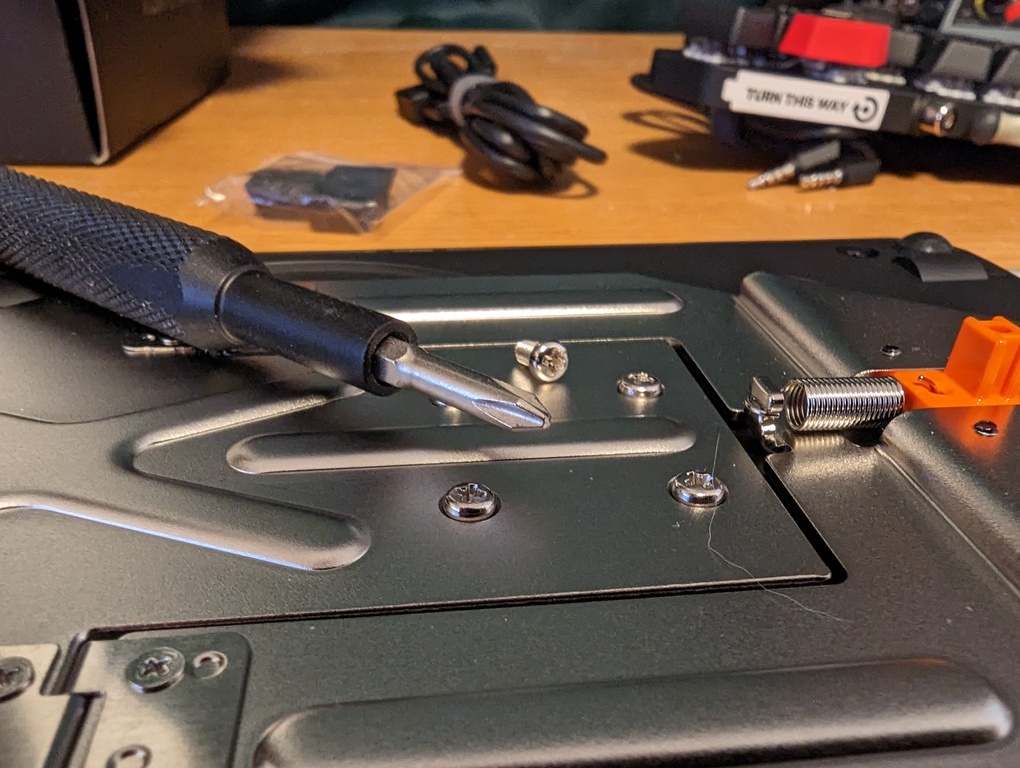
Mounting the Platforms Screws into the bottom with Phillips #1 heads Platforms tent up to a maximum of 60 degrees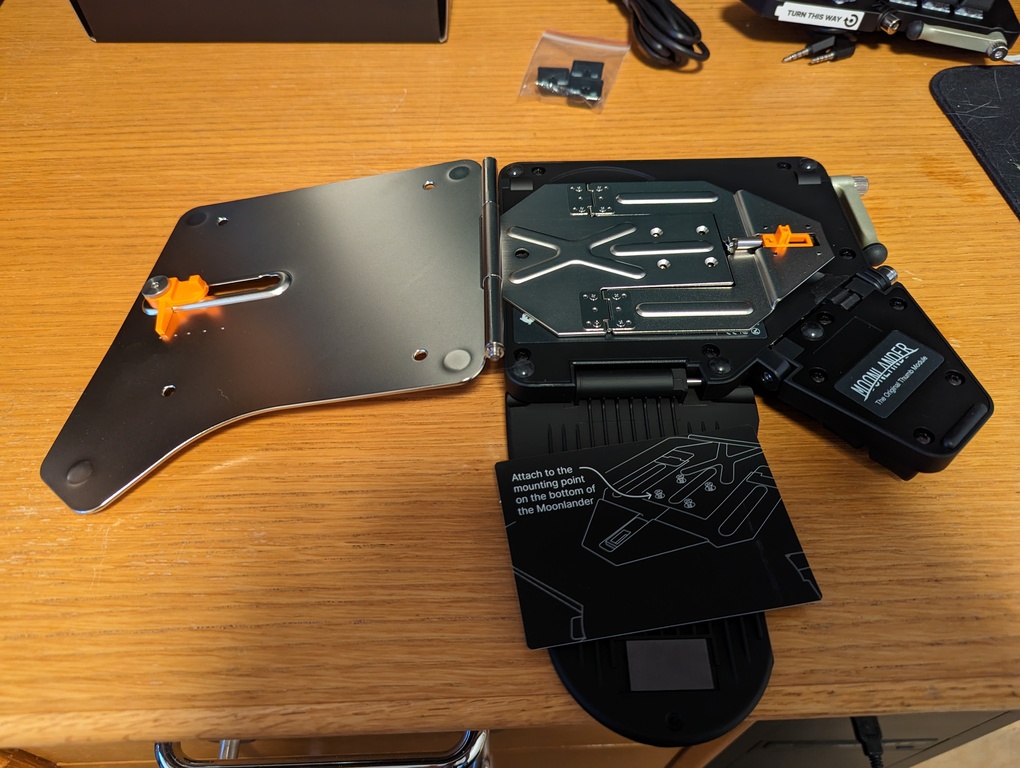
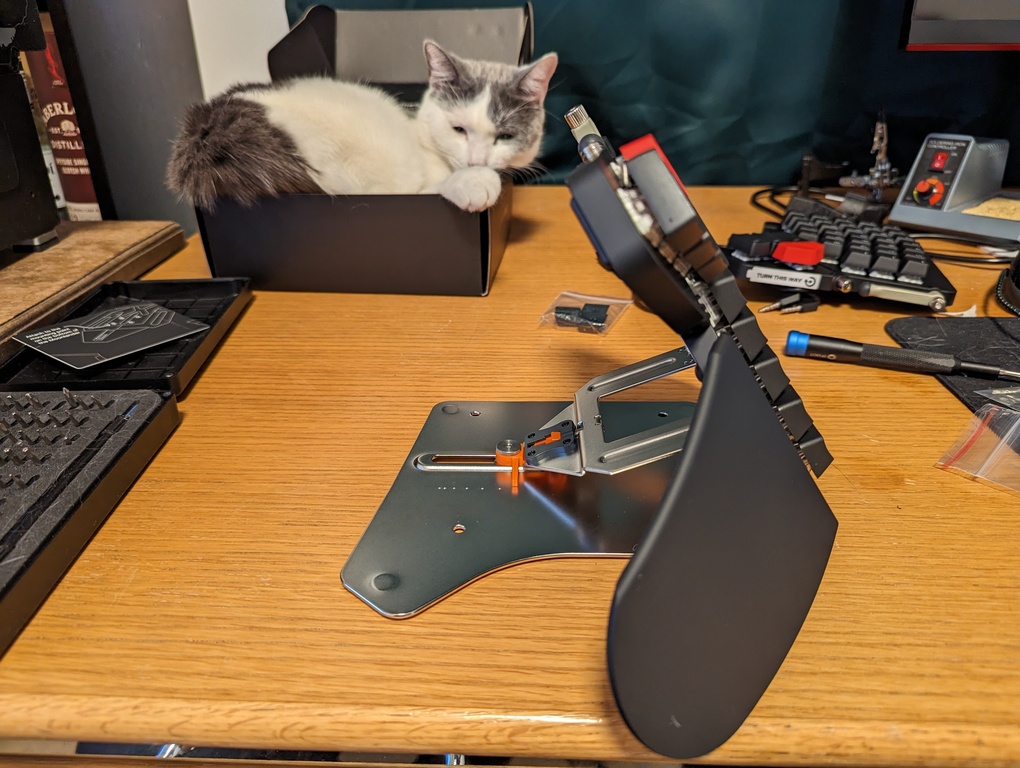
A 60 degree tenting angle is pretty ridiculous for me. As I’m typing this (on the Moonlander!), I have it set to 20 degrees, or the third dot on the Platform, which feels comfortable for me. They recommend that you start with the Moonlander flat for a month or so, but this is not my first split keyboard, so I figure it’s fine to start tented.
The Platform’s range is 0-60 degrees, with each 10 degrees marked with a little dot. The slider to choose the angle slides completely smoothly and is locked into place with a hex key. This was some information I had trouble finding online, as I originally thought I would just want 5-10 degrees. I couldn’t find what the minimum angle was and whether the action was smooth or locked to 10 degree increments. I’m very happy that complete angle freedom up to 60 is provided (sorry, 90-degree enthusiasts).
With the Platform, the inside legs are no longer needed Still pretty compact when folded up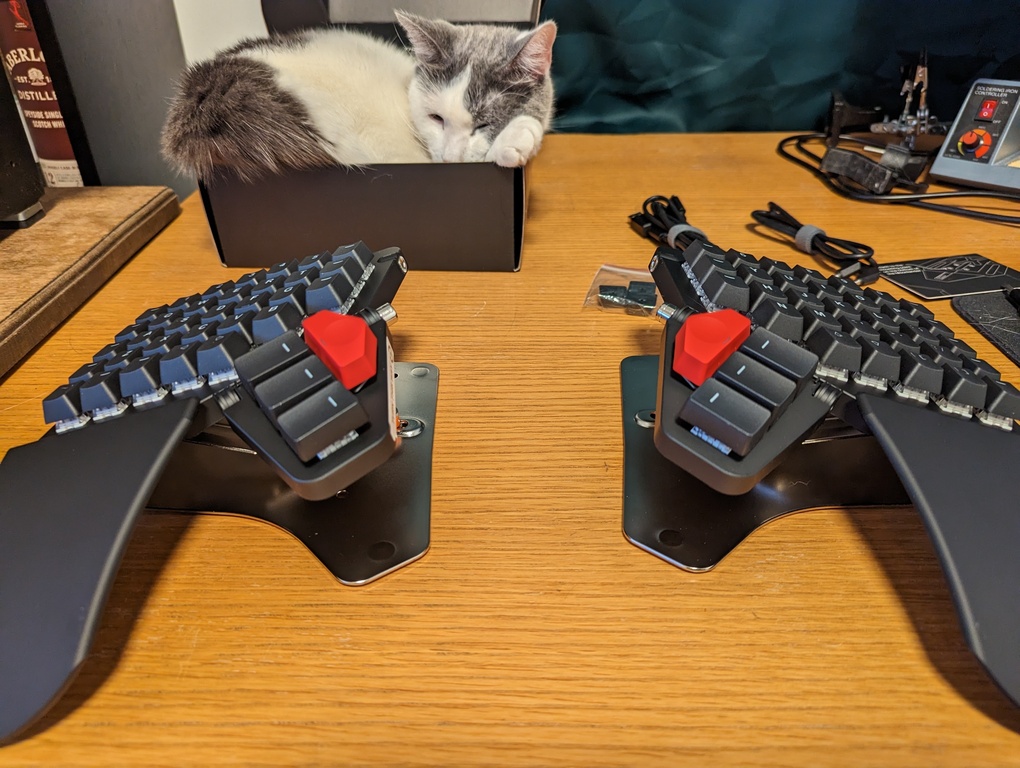
Even with the Platforms, the wrist rests fold up into the keyboard flat and is compact enough to fit into the travel case, albeit noticeably a little chunkier than when I first took it out.
Still fits in the travel case Included USB-C to A adapter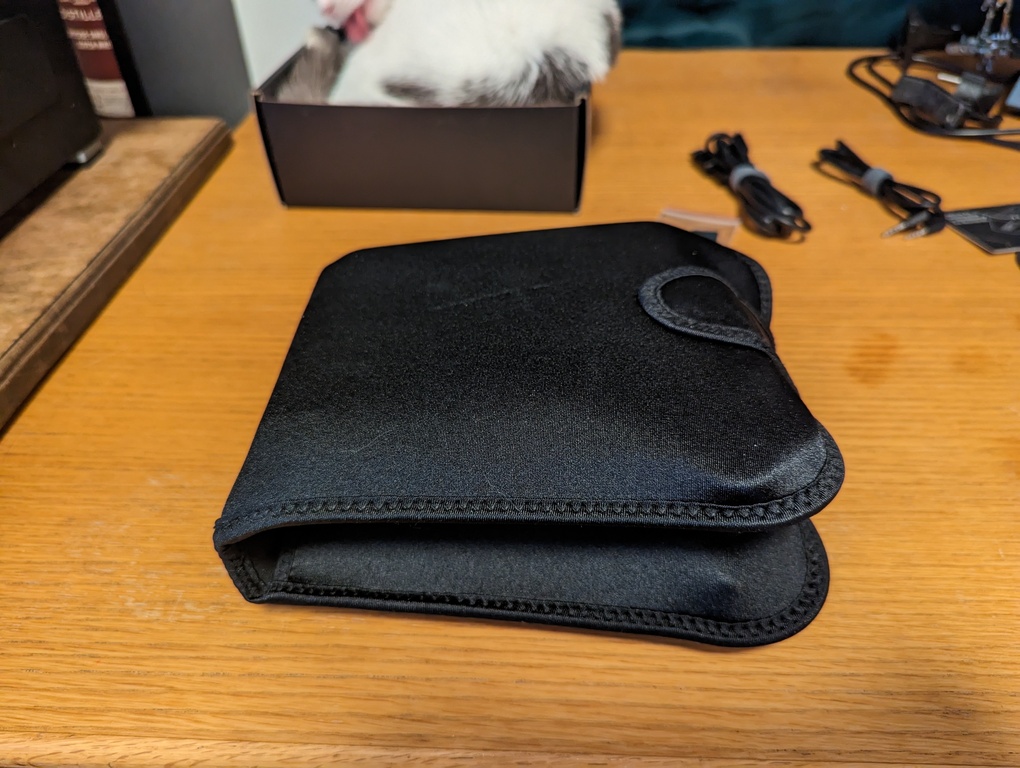
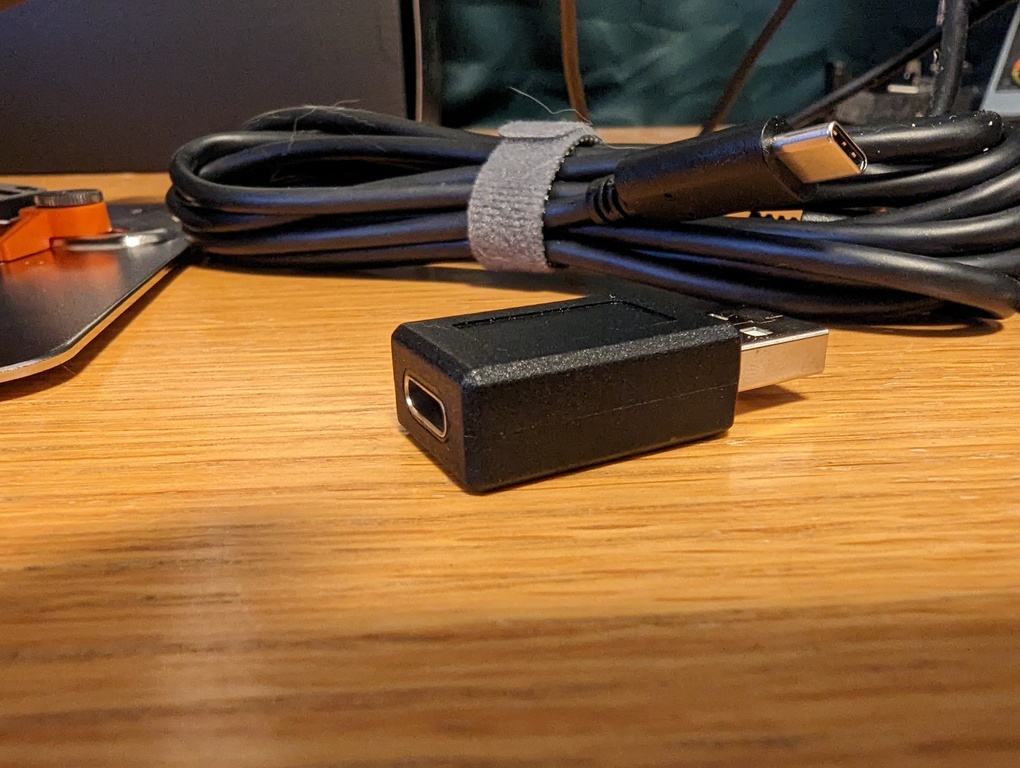
I did not expect the cable to be USB-C to USB-C, with a C to A adapter included in the box, but it’s a nice little touch.
Typing out this post on the Moonlander was a bit difficult. There is definitely a learning curve, but I like it a lot! I will now start the journey of tweaking my layout until it feels just right for me. Currently it’s based on my layout for my OLKB Preonic, but it does need some modifications with the thumb clusters and all.
Time for takeoff!